The short answer to what type of plywood for roofing you need: APA-rated structural sheathing with an Exposure 1 or Exterior bond classification. Exposure 1 panels are commonly called CDX. For thickness, 15/32-inch or 1/2-inch plywood (span rating 32/16) is a common choice for rafters or trusses spaced 24 inches apart, while 7/16-inch panels (span rating 24/16) are the thinnest rated for 24-inch spacing. Roof sheathing comes in standard 4-by-8-foot sheets.
The exact thickness depends on your framing spacing, roof loads, whether the panel edges are supported, and what the roofing manufacturer requires. This guide explains how to read the panel stamp, how thickness relates to rafter spacing, what size sheets to buy, how to use H-clips, how to nail the sheathing, and how plywood compares with OSB.
In this article
- What Type of Plywood for Roofing Is Used?
- How to Read the APA Stamp on a Panel
- What Thickness Plywood for Roofing?
- What Size Plywood for Roofing?
- Edge Support and H-Clips
- Panel Spacing: Why the 1/8-Inch Gap Matters
- Nailing Schedule for Roof Sheathing
- Moisture, Handling and Safety Tips
- Plywood vs OSB for Roof Decking
- Replacing Roof Decking During a Re-Roof
- Frequently Asked Questions
What Type of Plywood for Roofing Is Used?
Roof decking should be a structural wood panel made and graded for sheathing, not cabinet-grade or interior plywood. In the U.S., the standard product is APA Rated Sheathing, made to one of two product standards: PS 1 (the voluntary standard for structural plywood developed by the plywood industry with the U.S. Department of Commerce) or PS 2 (a performance standard for wood structural panels). APA’s roof span recommendations apply to Rated Sheathing in the Exposure 1 or Exterior bond classifications.
Exposure 1 (CDX) vs Exterior
The bond classification tells you how much moisture the panel’s adhesive and veneers are designed to handle:
- Exposure 1 is the everyday roof sheathing grade, commonly called CDX. According to the engineering firm Wiss, Janney, Elstner Associates, it’s suitable for uses not permanently exposed to the weather and may contain lower-grade D veneers. It’s designed to hold up to the wetting that happens during normal construction delays, but it isn’t meant to be left uncovered.
- Exterior panels are built for repeated wetting and drying or long-term weather exposure, with C-grade or better veneers throughout. They cost more. WJE notes the added durability can be worthwhile under long-lived roofing such as slate, tile or copper, where the deck needs to last as long as the roof.
Once a roof is covered with underlayment and roofing, it’s protected from direct weather, which is why Exposure 1 panels are the norm for typical shingle roofs.
Structural I and other variations
You may also see Structural I Rated Sheathing. It’s covered by the same APA roof span recommendations and is used when the plans or a design professional call for a higher-strength panel. For a typical house re-roof, standard Rated Sheathing is what’s used unless the plans say otherwise.
How to Read the APA Stamp on a Panel
Every rated panel carries a trademark stamp. Knowing how to read it is the easiest way to make sure you’re buying the right sheathing.
- Span rating (for example, 32/16): The left number is the maximum recommended spacing, in inches, between roof supports. The right number is the maximum spacing for floor supports. A 32/16 panel can span roof framing up to 32 inches apart (with the conditions described below) and floor joists up to 16 inches apart. The rating assumes the panel’s long dimension runs across the supports.
- Bond classification: Exposure 1 or Exterior, as described above.
- Performance category: A designation tied to the panel’s thickness range, such as 7/16, 15/32 or 19/32. It lines up with the nominal thicknesses used in the building codes.
- Decimal thickness: The actual thickness, which is usually at or near the low end of the allowed tolerance.
- “Sized for spacing”: Some panels are cut slightly smaller than a full 48 by 96 inches so installers can leave the recommended gaps at joints.
- Mill number and product standard: Identifies the mill that made the panel and whether it meets PS 1 or PS 2.
What Thickness Plywood for Roofing?
Roof sheathing thickness is chosen by span rating, and span rating is matched to the spacing of your rafters or trusses. The International Residential Code (IRC) Table R503.2.1.1(1) and APA’s roof sheathing recommendations give the maximum spans for each rating. The table below shows the common ratings used on houses, using APA’s recommended maximum spans.
| Span rating | Performance category (nominal thickness) | Max roof span with edge support | Max roof span without edge support |
|---|---|---|---|
| 24/16 | 7/16 in. | 24 in. | 24 in. |
| 32/16 | 15/32 in. (or 1/2 in.) | 32 in. | 28 in. |
| 40/20 | 19/32 in. (or 5/8 in.) | 40 in. | 32 in. |
| 48/24 | 23/32 in. (or 3/4 in.) | 48 in. | 36 in. |
“Edge support” means the long edges of the panels between rafters are supported by panel clips (H-clips), tongue-and-groove edges or lumber blocking. These spans assume panels run continuously across two or more spans with the strength axis perpendicular to the framing.
How to use the table
- Framing at 16 inches on center: Any of the ratings above spans 16 inches. Going thicker than the minimum gives a stiffer deck that’s less likely to sag between rafters.
- Framing at 24 inches on center (common with trusses): 7/16-inch (24/16) is the minimum rated for this spacing. A 15/32-inch or 1/2-inch (32/16) panel carries noticeably more load at the same spacing and is a common step up.
- Wider spacing or heavy loads: Thicker panels such as 19/32-inch or 23/32-inch are used for wider framing, heavy roofing materials, or where a design professional calls for them.
Snow load and why thicker can be better
The span rating tells you the maximum spacing, but the allowable load drops quickly as the spacing approaches that maximum. That matters in snowy climates. In Minnesota, for example, the state building code sets the ground snow load at 50 pounds per square foot in Hennepin County (including Minneapolis), and 60 pounds per square foot in a list of northern counties. On a roof designed for those loads, choosing a thicker panel than the bare minimum adds stiffness and reduces deflection between rafters. For any new framing, the sheathing and framing need to be designed together for the local loads, so follow your plans or check with your building department.
What the roofing manufacturer requires
Roofing manufacturers set their own deck requirements, and they must be followed. GAF’s shingle instructions, for instance, accept plywood or OSB decking as recommended by APA. Shingle nails generally must penetrate at least 3/4 inch into the deck or go all the way through thinner sheathing, so very thin panels can affect nail holding. Metal roofing, tile and other systems may call for a thicker deck or specific fasteners. Always check the installation instructions for the exact product you’re installing.
Overlaying an old board deck
Older homes often have roofs sheathed with individual wood boards. When the gaps between boards are too wide for the shingles, one fix is to overlay the boards with new sheathing. St. Paul’s reroofing policy, for example, allows an overlay of 3/8-inch exterior plywood or 7/16-inch OSB over boards with gaps larger than 5/8 inch, fastened only into framing. Local rules vary, so confirm the approach with your building department.
What Size Plywood for Roofing?
Roof sheathing comes in standard 4-by-8-foot sheets (48 by 96 inches nominal). Some panels are labeled “sized for spacing” and measure slightly less, which makes it easier to leave expansion gaps without trimming. Longer sheets exist for specialty uses, but 4-by-8 is what you’ll find at most suppliers and what most roofs are laid out for.
Layout basics
- Install panels with the long (8-foot) dimension running across the rafters or trusses. That’s the direction the span rating is based on.
- Each panel should be continuous over at least two spans. APA’s span recommendations apply to panels 24 inches or wider applied over two or more spans.
- End joints must land on the center of a rafter or truss so both panel ends are fully supported and nailed. End joints are typically staggered from row to row.
- Avoid small slivers at ridges and edges where you can. If you must use a narrow piece, it should still meet the minimum width and span over at least two supports.
How many sheets do you need?
Each 4-by-8 sheet covers 32 square feet. Roofers measure area in squares, where one square equals 100 square feet (see our guide to what a square is in roofing). That means one square of roof needs a little over three sheets. To estimate, divide your total roof area in square feet by 32, then add a waste allowance for hips, valleys, cut-outs and rakes. Complicated roofs with many angles need more extra material than simple gable roofs.
Edge Support and H-Clips
H-clips (also called panel edge clips or plyclips) are small metal clips shaped like the letter H. They slide onto the long edges of two adjoining panels between rafters, so the panels support each other and don’t deflect independently under load.
When you need them
Edge support is required whenever the rafter or truss spacing is greater than the “without edge support” span in the table above. For example, 15/32-inch (32/16) panels can span up to 28 inches without edge support, but need clips, tongue-and-groove edges or blocking to reach 32 inches.
How many clips to use
APA calls for one clip midway between each support, and two equally spaced clips when supports are 48 inches on center or more. Clips are made for specific panel thicknesses, so buy the size that matches your sheathing.
Alternatives to clips
- Tongue-and-groove panels interlock along their long edges, providing edge support without clips.
- Lumber blocking between rafters under the panel edges also works, though it takes more time.
Panel Spacing: Why the 1/8-Inch Gap Matters
Wood panels expand as they pick up moisture. APA recommends leaving a 1/8-inch space at all panel edge and end joints unless the panel manufacturer says otherwise. Without that gap, panels can push against each other and buckle, which can show through as ridges in the finished roof. APA also notes the gap isn’t meant to be filled; putting anything in it can prevent the panel from expanding as designed.
H-clips naturally create the gap along long edges. Panels labeled “sized for spacing” make this easier to do while staying on the standard 4-foot and 8-foot layout.
Nailing Schedule for Roof Sheathing
Sheathing is only as strong as its fastening. Both the IRC fastening schedule (Table R602.3(1)) and APA’s recommendations call for the following for typical roof sheathing:
| Panel thickness | Nail | Spacing at panel edges | Spacing at intermediate supports |
|---|---|---|---|
| 3/8 in. to 1/2 in. | 8d common (2-1/2 in. x 0.131 in.) | 6 in. | 12 in. |
| 19/32 in. to 1 in. | 8d common (2-1/2 in. x 0.131 in.) | 6 in. | 12 in. |
| 1-1/8 in. to 1-1/4 in. | 10d common or 8d deformed-shank | 6 in. | 12 in. |
Key fastening details
- Edges vs field: “Panel edges” means where panels meet over a rafter (and at the roof perimeter). “Intermediate supports” are the rafters crossing the middle of the panel.
- Wide spans: Where supports are 48 inches or more apart, nails go 6 inches on center at all supports.
- Gable ends: Sheathing nailed to gable-end wall framing is spaced at 6 inches on center.
- Edge distance: APA recommends keeping nails 3/8 inch in from panel edges.
- Hit the framing: Nails that miss the rafter or truss add nothing. Snap chalk lines over framing so you can see where to nail.
- Higher-wind areas: APA notes that increased nailing schedules may be needed in high-wind zones, and the code tightens spacing near roof edges in higher wind areas. Check your local requirements before you start.
- No glue: APA does not recommend gluing roof sheathing to framing, except as an adhesive manufacturer specifies for sheathing already protected by roofing.
Roof edges see the strongest wind suction, which is why fastening at the perimeter matters so much. Many Twin Cities building departments reference a 115 mph ultimate design wind speed for houses, and local amendments can change what’s required.
Moisture, Handling and Safety Tips
Keep the deck dry
- Cover it quickly. APA recommends covering roof sheathing with underlayment as soon as possible after installation. Exposure 1 panels tolerate normal construction delays but aren’t meant to sit exposed.
- Store panels off the ground and covered before installation, with air circulation so they don’t trap moisture.
- Keep the surface clean. Sawdust and debris on the deck are slippery and can interfere with underlayment adhesion.
- OSB orientation: If you use OSB, install it with the screened or textured, skid-resistant side facing up.
- Ventilate the attic. A properly vented attic helps keep sheathing dry over the long term, especially in cold climates where moisture from the house can condense on the underside of the deck.
Safety first
Sheathing a roof means working at height while carrying large panels that act like sails in the wind. If you’re doing any of this work yourself, use proper fall protection (such as a harness and anchor system), work only in dry, calm weather, and never work on a roof that’s wet, icy or snow-covered. Follow the panel and roofing manufacturers’ installation instructions, and check with your local building department, because re-sheathing and re-roofing usually require a permit. If you’re not comfortable working on a roof, this is a job for a professional crew.
Plywood vs OSB for Roof Decking
Oriented strand board (OSB) is the main alternative to plywood for roof decking. The building codes treat the two as equivalent when they carry the same span rating and performance category, and the clip and nailing requirements are the same for both. The differences show up in cost, weight and how they handle moisture.
| Factor | Plywood | OSB |
|---|---|---|
| Cost | Usually costs more per sheet | Usually a few dollars less per sheet |
| Weight | Lighter; Georgia-Pacific puts it at roughly 15% to 19% lighter than OSB | Heavier, harder to handle on a roof |
| Getting wet | Absorbs water faster but dries faster | Absorbs water more slowly but dries more slowly |
| Swelling | Swells more evenly and largely recovers when it dries | Edges can swell, and the swelling doesn’t fully go away |
| Consistency | Can occasionally have soft spots | Uniform panel without soft spots |
OSB’s permanent edge swelling is the main concern for roofs, because swollen edges can telegraph through shingles as visible lines. Plywood is generally considered more forgiving of leaks, condensation and construction-time rain. Both perform well when installed correctly, kept dry and properly ventilated.
Replacing Roof Decking During a Re-Roof
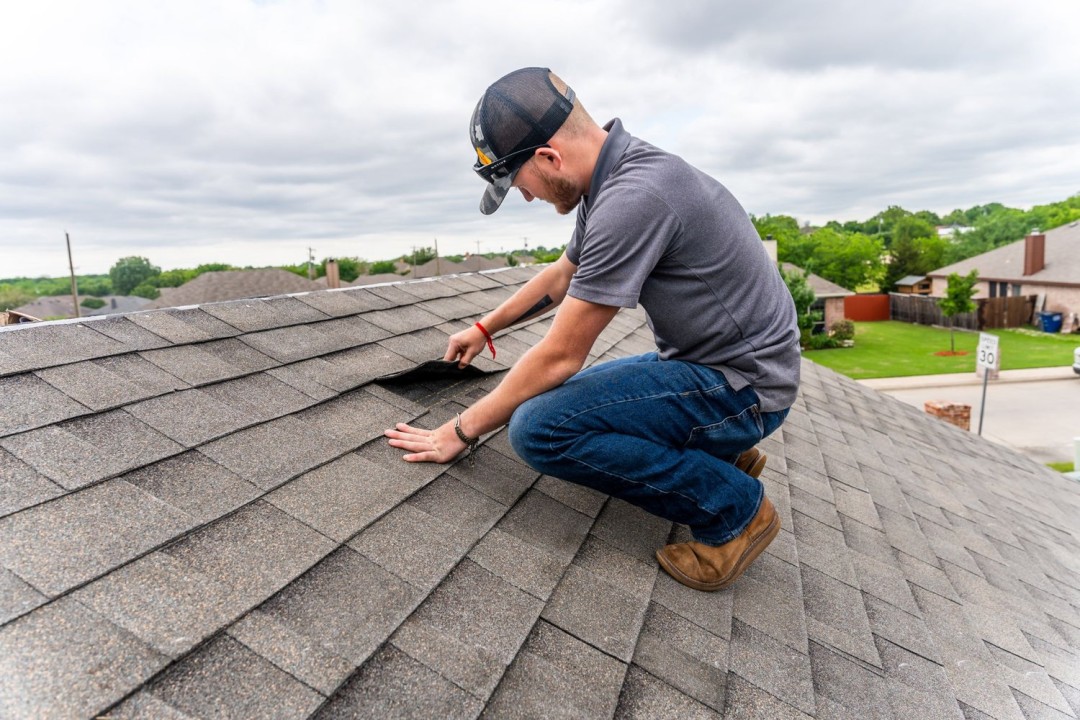
The best time to deal with sheathing is when the old roofing is off. During a tear-off, the crew can see the whole deck and replace any panels or boards that are rotted, delaminated, soft, or damaged by old leaks. Signs that decking needs replacement include sagging between rafters, a spongy feel underfoot, dark staining or rot visible from the attic, and nails that won’t hold.
When you get estimates for a roof replacement, look for a per-sheet price for replacement decking. It’s hard to know how much decking needs replacing until the old roof is removed, and a clear unit price avoids surprises. If you’re planning new construction or an addition, our roof installation page covers how the deck, underlayment and roofing go together.
If you’re switching to metal, check the panel manufacturer’s deck requirements before you start. Many metal roofing systems are installed over solid sheathing and underlayment, and the details are covered in our guide on how to install metal roofing.
Frequently Asked Questions
What is the best plywood for roofing?
APA Rated Sheathing in the Exposure 1 (CDX) or Exterior bond classification, with a span rating that matches your rafter or truss spacing. For most houses with framing 24 inches on center, 15/32-inch or 1/2-inch (32/16) plywood is a common choice.
Is 7/16 or 1/2 inch better for roof sheathing?
Both are rated for framing up to 24 inches on center, but 1/2-inch (32/16) panels carry more load and can span up to 28 inches without edge support. Choose 1/2-inch for a stiffer deck, especially in heavy-snow areas, unless your plans or manufacturer specify otherwise.
Can I use 3/8 plywood for a roof?
Thin 3/8-inch panels have low span ratings and are generally limited to closely spaced framing or overlays on existing decks. Check the span rating on the stamp and your roofing manufacturer’s deck requirements before using them.
Do I need H-clips on roof plywood?
You need H-clips or another form of edge support when the framing spacing exceeds the panel’s maximum span without edge support. For example, 15/32-inch panels need clips to span 32 inches.
What size are roof sheathing sheets?
Standard roof sheathing panels are 4 feet by 8 feet, or 32 square feet each. Panels labeled “sized for spacing” are cut slightly smaller to make room for the recommended 1/8-inch gaps.
Is CDX plywood waterproof?
No. CDX (Exposure 1) plywood is designed to withstand moisture during normal construction delays, but it isn’t meant for permanent weather exposure and should be covered with underlayment and roofing promptly.
Is plywood or OSB better for a roof?
Codes treat them as equivalent when the span rating and thickness match. Plywood is lighter and recovers better after getting wet, while OSB usually costs less but its edges can swell permanently.
Choosing roof plywood comes down to a few checks: a rated sheathing panel with the right bond classification, a span rating that fits your framing and loads, proper edge support, correct gaps and a complete nailing pattern. If you’d rather have a professional handle the deck and roofing together, the roof replacement page linked above explains what the job involves.